A wet plate collodion night

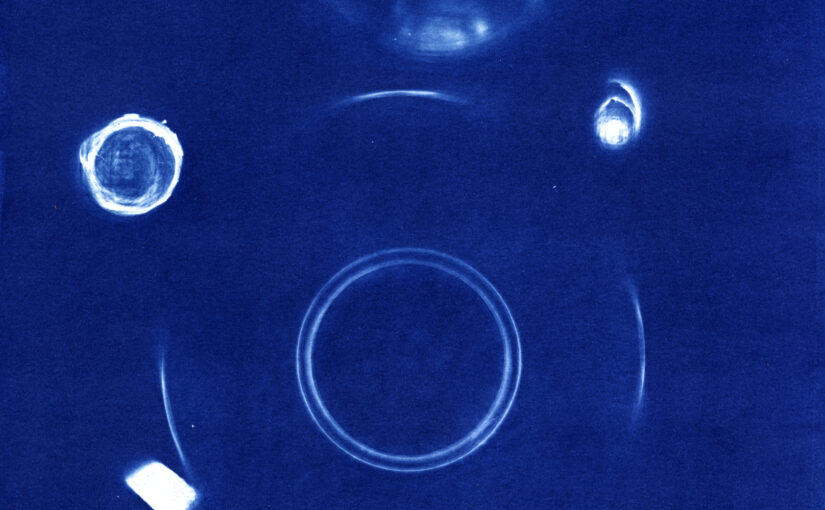
It’s Monday, Easter Monday. Here it’s a day off. Weather is cold and cloudy. Kids are busy playing, and I have no plan whatsoever. In the back of my mind, I had this idea of setting up a wet plate collodion session as I have some new fresh chemicals. But nothing is decided. In the end, the trigger will be the kids not asking for specific attention. There I go to the darkroom and start to set it up. first that long pointy rock that I’ve found the day before during a hike. I like to put it next to a small boulder. Ok we have a first simple composition, let’s go with that. Then put the tray in place, and the chemicals. This time it’s easy, I have bought a premix collodion, some developer, and even some fixer. the silver bath was filtered a few days ago just in case. I managed to get 3 plates before someone called me out. Then after dinner I could not resist and went back. Put some music on remove the watch, and I was in this place with no time. This is a very addictive process, and it requires a lot of training. I’m still at the early stages. The plates are not yet clean enough to my taste. But I’m getting some results that I really like. Here the scan is a bitch for sure as it reveals every tiny spot of dust that you won’t really see on the real thing unless you come close with a magnifier. And there are still some plates that sucks. Actually the more it went, the worse it was. I have learned that I need to clean my plate holder between each plate. And also use a second bottle to pour the surplus of collodion so it does not contaminate the main bottle.

Here are he 4 best plates.

And another 4 that are far beyond. There are another 2, but I will just not scan them as both exposure and development are wrong. In these 4, based on information from experienced people, when it’s getting greyish, it would mean lack of exposure and over development.

Lack of inspiration ?

Today, I just took some random stuff only table and put it in the printing frame with a sheet of cyanotype coated paper. 5 min under the UV light, and there you go, quick and dirty. Ok, the truth, is that I was very curious to see how much light this thing would let go through. So the first exposure was 30 minutes. this was way to much. So I did go with 5 min and that works fine. Could have added a few minutes though. And this is clearly the best use of this crap I’ve ever made.

Insta raw material.

The other day, I published a picture on Instagram, and was thinking I would like to have something like that printed with Cyanotype (this is the last one here). So there I went to download the picture from my phone and make a digital negative out of it. And then while I was browsing the pics in my Instagram folder, I just can’t help it but picking up a bunch to make some prints. And I guess I’m gonna use this material. I’m clearly not a big fan of digital photography, I just don’t enjoy using a photo editing software. I have tons of pictures on HDD that are not sorted and not processed, just because I don’t feel like doing that. Instead I prefer going to the dark room and craft some pictures. So Insta for me is a good bargain, I get some processed pictures in a minute. And then I can use this raw material to go further in the process.

Curve or no curve that is the question

Here we go again with some cyanotype experiments. Today, we are comparing side by side the same image with EDN curves and without it. The methodology is what it is. Not perfect :

  • same paper coated during the same batch
  • same exposure time (let’s say +- 1 sec) with the same exposure unit

The two negatives only differ by applying a curve that was generated with the EDN method. One drawback is that the paper was not from the same coating batch when I prepared for the EDN thing. Though it is the same paper and same batch of chemistry.

Now lets look at the results :

  • On the left, without the correction curves, we have stronger contrast and deep dark blue.
  • on the right, with the correction curves applied to the negative, we have a more balanced image and we are getting more details in the shadows.

So the conclusion, is obviously that there’s a difference. I used an already contrasted image on purpose, and to me the curve do not bring much in that case. But if we got a landscape with lots of details I’ll use these curves to make sure I’m not losing those details in the shadows (for instance in the trees).

From the mountains

This is what I really enjoy as a vacations : hiking in the mountains and taking pictures. This is in the south of the French Alps in a region called Champsaur. For the little story, this is the place Vivian Maier comes from. There’s a little Museum in one of the small Villages. This is not a place with high peaks covered with eternal snow, but you can get up to 3100m. That’s enough to get a very nice view on the other well known peaks like “Meije”, “Rateau” or “Barre des Ecrins”. But back to this picture, here we are not so high in the mountain, this is near the start of one of the hike we usually do in the Valley of Roanne, and that takes us to the top of “Petite Autane”. That day I was carrying my Fuji GW690 camera. And I have to say, I enjoy a lot using this camera. The patch of the rangefinder is just bright and sharp. And talking about sharp, I think these are the first scans I’m doing from negatives produced with this camera, and hell they are sharp too. So I decided to give it a shot with an enlarged digital negative and print it with cyanotype. Then toned in coffee. And here we go with an image that I like. Nothing special about it, but the level of details and the tonal range please me enough to enjoy it. Hope you’ll enjoy it too.

Old film

Let’s talk about something different today. I got hand on a quite old hp5+ can of 35mm. The one with the green lid and the film can itself is black with green font, can’t find when they changed this, but I’d guess so it is at least expired for 20 years. Since it was an expired film, I wanted to use it in an unconventional way, and decided to put it in the back of my Mamiya RB67 with some adapters an shoot some panoramic pictures. When you do that, of course you also expose through the sprockets as there’s no mask for 35mm. Some likes it and some don’t. I kinda like the aesthetic of it. And here we are for a quick sessions in the garden. Framing is of course not accurate unless you draw the lines on the ground glass. Actually the RB67 ground glass has several vertical lines, and this helps a lot.

Now for the developing part, I didn’t do anything special, probably extend a little bit the time compared to the recommended, but not that much, maybe one minute. This explain why it comes out with a low contrast. And actually, this kind of contrast for subjects like flowers and other vegetal is something I’m looking for. Still I added a bit of correction in Gimp, just to get some darker tones in the shadows. Basically taking the curve in the middle where there’s the most mid tones and pulled it to lower values. A few adjustments with a brush in soft light mode and that’s it.

Back to blue

After several posts about toning, let’s get back to the roots and to the blue of cyanotype. I’ll probably try a toned version of this one, but I think it works just fine with the prussian blue. This was taken in Jardin des Tuilerie during one of these photo binje day (means going to several exhibitions, and take pictures in between) that I especially appreciate.

Darker

So here if you’ve red previous post, we’ve seen a very soft image due to an excess of bleach. Now here is the version which is the same exposure time for the same negative. Ok this is not the same batch of paper, this one was coated the night before. Well we’re not in the industry here with fully reproducible process. So this time it was dipped into the bleaching solution for just two or three seconds. Actually I put it face downward and let it float o the bleach solution for a few seconds and then right away in the water, and then add more water. Finally it stayed about 30 to 40 minutes in the coffee. And we still have a lots of details. Hope you enjoy it.